
After an entire November of minimizing, I felt especially inspired to create something. This tree was a lot of fun to make! Even better, I didn’t have to buy anything. Being festive with what is easily available is a holiday tradition. Scrap paper, scissors and painter’s tape are the basic supplies. It’s a wonderfully forgiving project.

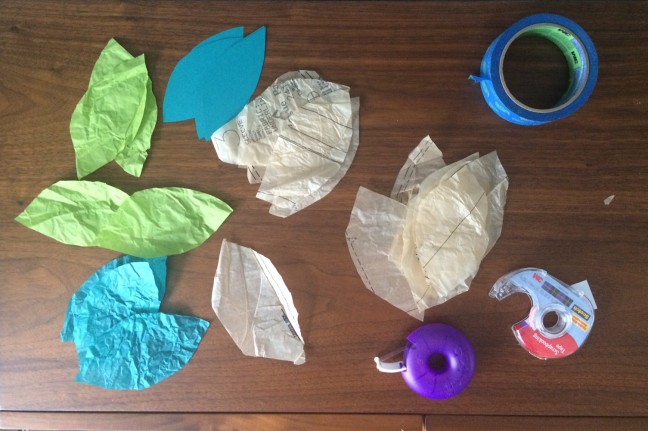
First, I cut something around 100 leaf shapes out of scrap paper (sewing patterns, old calendars, shopping bags, tissue paper… you get the idea).


Then, tape (painter’s tape) several horizontal paper strips to the wall. It helps with space planning. This also reduces the number of individual pieces of tape I had to stick to my wall.


Taping out the perimeter (big blue angled line, right) also helps get an idea of space. I ended up using it as a loose guide. A super straight edge or a triangle-tree can look a little stiff, especially since my “building blocks” were on the more rustic side.
Finishing touches include those easy-to-remove adhesive wall hooks, for hanging ornaments (see that one almost hiding in the photo below?) and lights. Lightweight lights! These are LED on a thin wire string. They’re easily secured with tape. You can hide all kinds of less-pretty tricks behind those leaves.


For more minimalist decorating ideas, visit Light by Coco. She is such an inspiration. Not to mention, one of the biggest most positive influencers on my massive decluttering initiative.
I hope you enjoyed reading about my DIY paper tree! Have a happy holiday (and crafting) season.

Great idea for at the work place! Thank you for sharing. :)
well of course!
Thank you! That’s West Elm.
Cute! And your sideboard is stunning!